

[wd_asp id=2]
[wd_asp id=1]
0
$0.00
0 items
This adorable decoration is great for all ages and affordable too!
This craft doesn’t take a long time to make, but there is downtime while waiting for the paint to dry. During this time may I suggest a nice glass of Rose pairs well with Peanut Butter and Jelly. Always a classic.
Here we go.
Step by step photos and of course you can change to any type of designs and color to suit your decorative style.
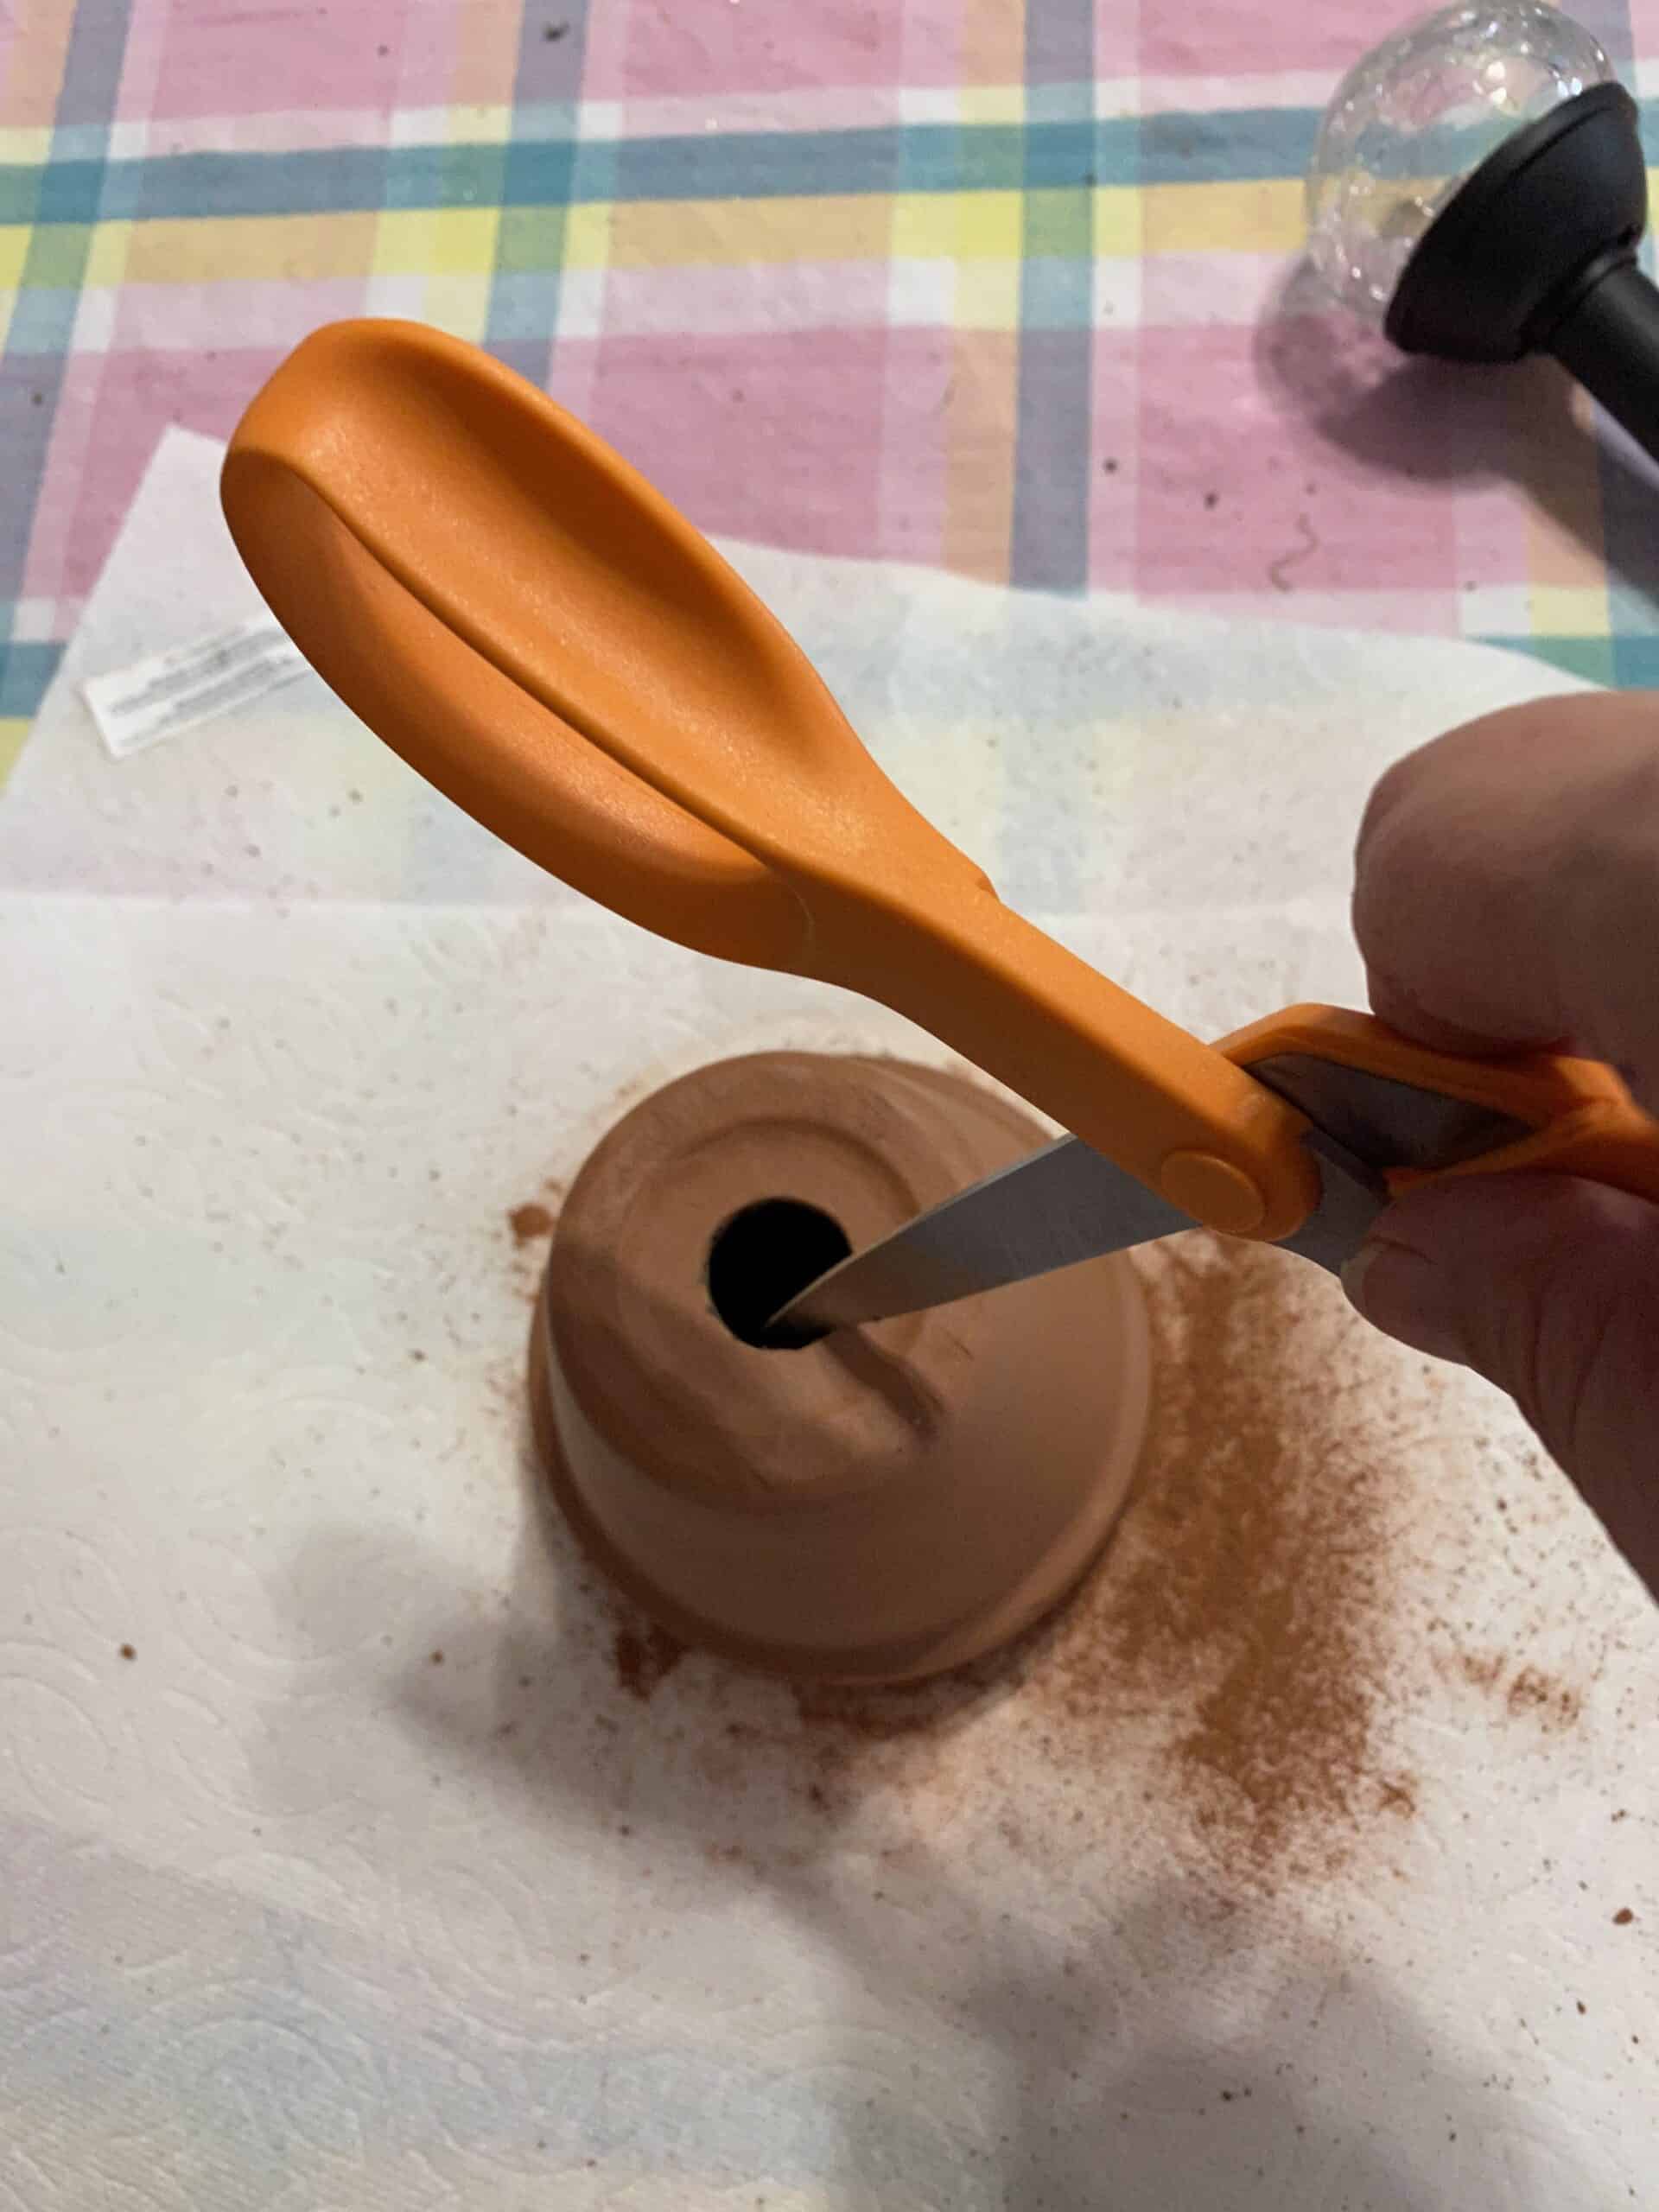 Step 1. Most openings in the bottom of the pot will be too small. Clay pots are really easy to enlarge the size of the hole so your light will fit. Take scissors and just keep going around and around. BE CAREFUL! This is a bit messy and should be done by an adult. Keep measuring with your light base until it fits in firmly.
 Step 2. Spray paint your pot white. You can also put your kiddo in some old clothes and let them go at it with a foam paintbrush and some white paint. I use just basic acrylic craft paint. We are sealing it so you don’t have to use expensive paints for this part.
 Step 4. Spray with your primary color. I used a pretty blue. Once again if it is time to make lunch or you need to sneak away for that glass of wine. Leave your kiddo for a second with a foam brush and some blue paint. If you do let your little one be the artist be sure to smooth it out before it starts to dry.
 Step 5. Now that lunch is over, it’s time to peel off the stickers. I know there are all sorts of craft tools for this process but being a sucker I have bought them all and I find that my fingernails work the best!
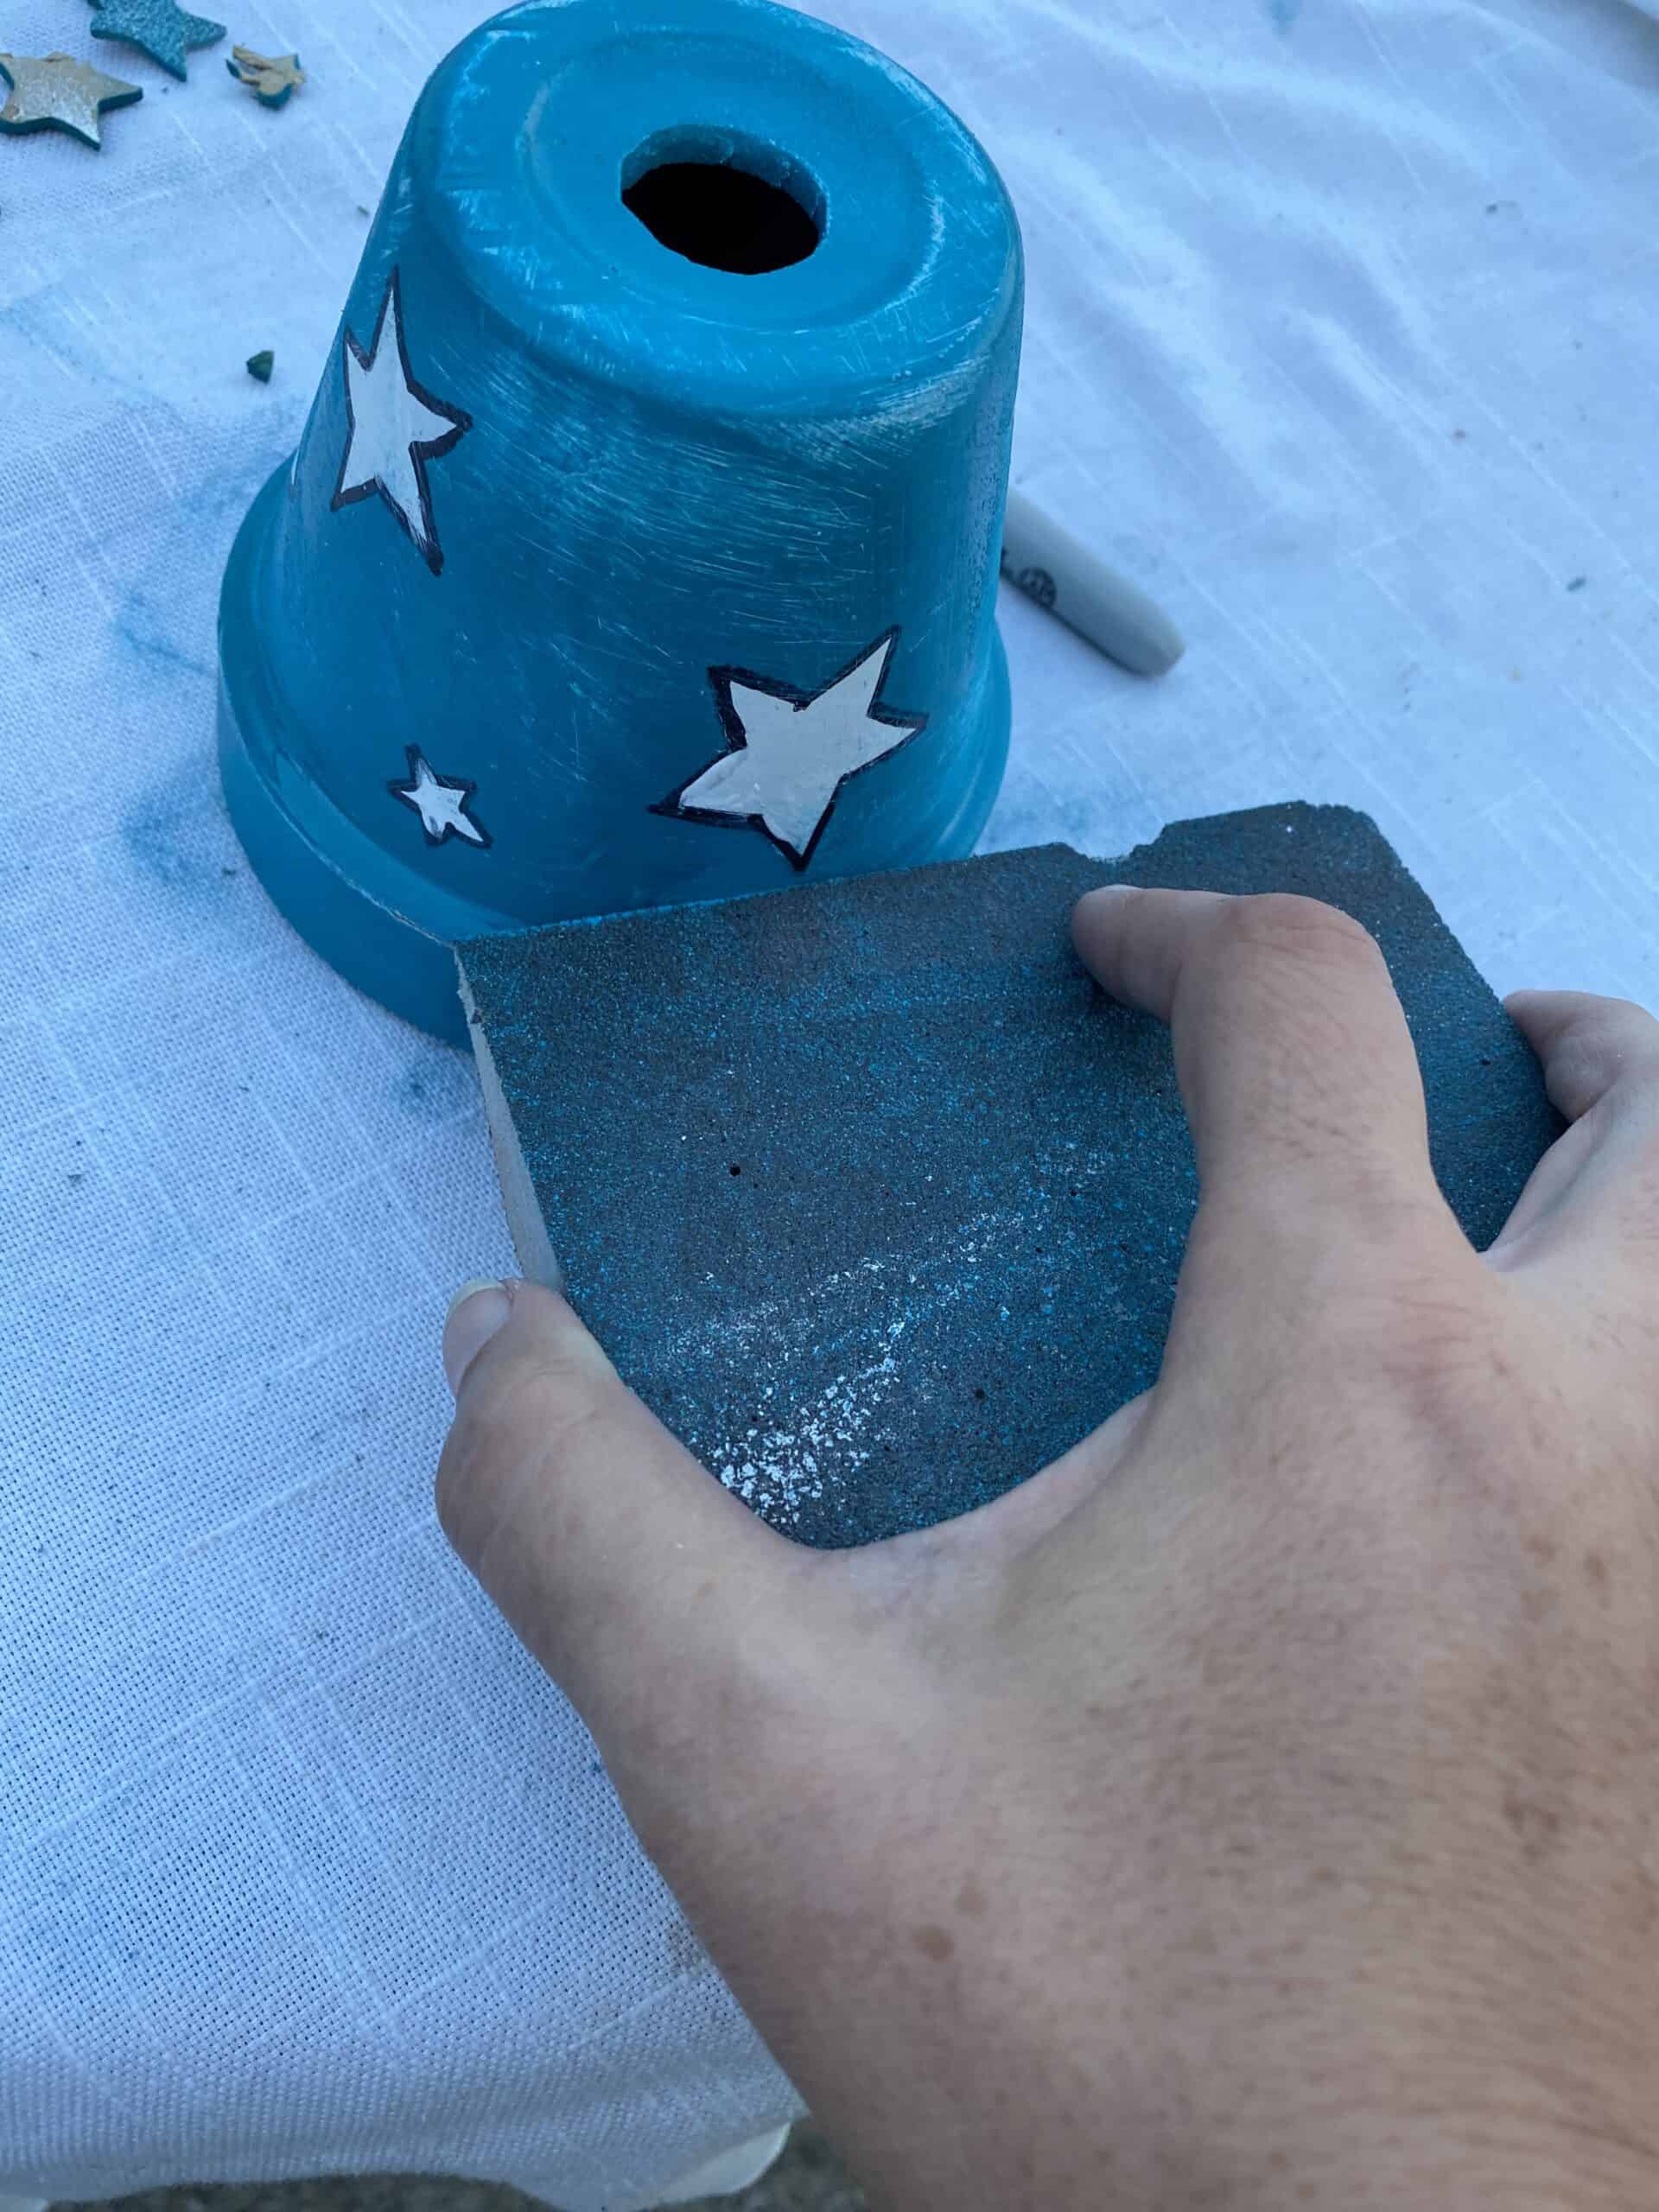
Step 6. This part is optional: I took a black sharpie and outlined my stars. My personal preference to have them pop! Then I sanded the pot to give it a bit of a “rustic look”. 
Step 7. Spray with sealer. I really like Krylon’s ColorMaster Crystal Clear Sealer. You can find anywhere they sell spray paint.
 Step 8. Now that Nappy time is over it’s time to decorate! My personal favorite part. I choose some white shinny ribbon I already had in my collection. When you put your bit of glue on the end then put a piece of Blue paint tape preferably. (I didn’t realize I was out of this tape so had to use scotch tape) to secure the spot. Then simply glue all the way around the edge. Tape the end piece over the start piece. After dry take off the tape. Next, I choose a pretty red and made a bow – glued that on and added a star for fun! Put light in and set on the table. Walla! Easy Peasy!

Thank you so much for following Carmen’s Craft Blog. See you in the near future with another fun craft! Stay Safe and Happy Crafting! ~Carmen